Table of Contents
Uploading Pictures Individually
Overview
Once you have have imported and resized your photos, you are ready to upload them to the Webware Photo Album. To continue, you must have your URL and login information for your WebWare Control Panel. The following instructions are only usable from within the WebWare system. If you are unsure of how to access your WebWare installation, contact your Megabytes representative.
Uploading Photos
- Log into your Webware Control Panel.
- Click Photo Album from the main menu.
- From the Photo Album Menu, click Upload Photos.
- First, give your photo a caption by entering text into the Caption input box. (A caption is optional but recommended)
- Then, next to the Full-Size Photo: Dialog box, click the Browse… button.
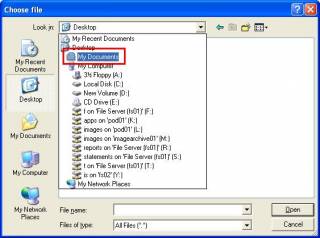
- This will popup a “Choose file” box in the My Pictures folder, used to locate your photo. Navigate to the folder where your full-size photos are located. In this example we will use the photos we exported from the Picasa software.
- Click the drop down menu and select My Documents. (Vista users need to click Pictures and will skip the next step.)
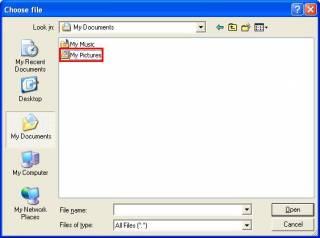
- Click My Pictures and click Open.
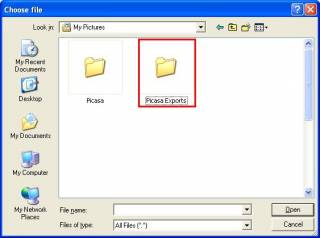
- Click the Picasa Exports folder and click Open.
- Click the Fullsize folder with the date your photos were exported and click Open.
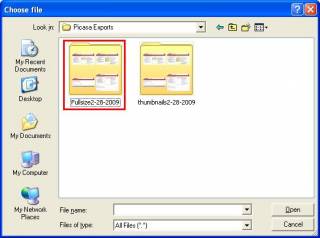
- Click the photo you wish to upload and click Open.
- Then, next to the Thumbnail dialog box, click the Browse… button and repeat steps I-V above but choose your Thumbnail picture.
- Make sure you select the same photo as you did in the steps above for the Fullsize photo and click Open.
- After the Caption box, Full-size photo box, and thumbnail box have been completed, click Upload.


Your photo is now uploaded to the Webware Photo Album and can be categorized or edited.